
This post may contain affiliate links.
Ever scroll through a hiking app and think, “Wait… what’s a lollipop trail? And how hard is ‘moderate,’ really?”
You’re not alone, friend.
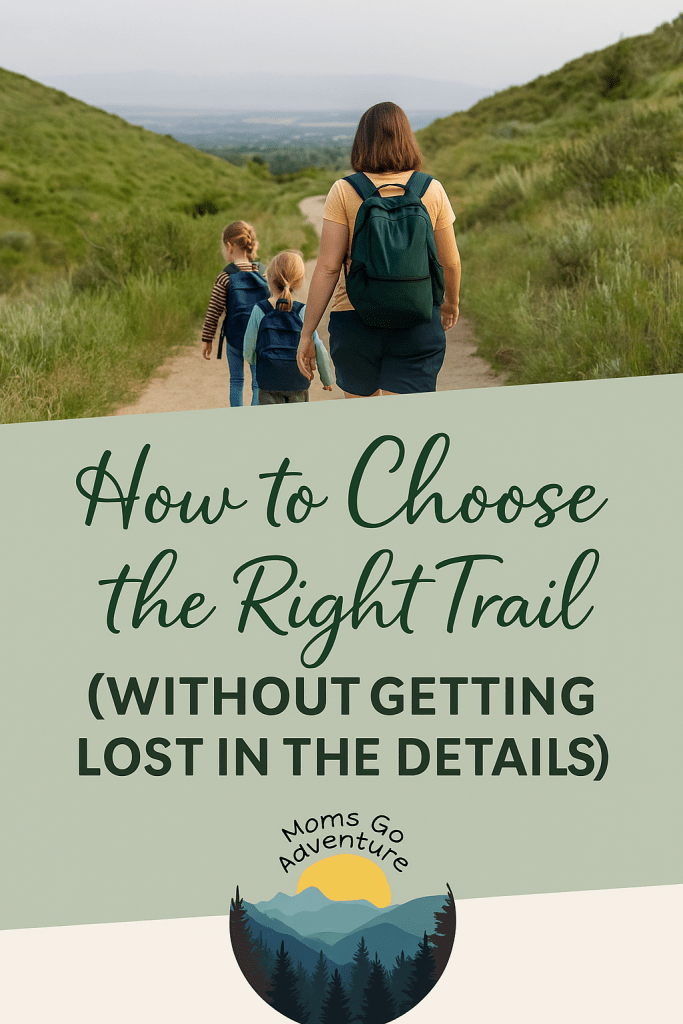
Whether you’re hiking in the Boise Foothills or halfway across the country, finding the right trail can feel overwhelming at first. But once you know what to look for—and how to read all those little details—you’ll be able to plan hikes that actually match your day, your energy, and your people (even if “your people” includes a toddler who insists on bringing three stuffed animals).
So grab your coffee, because we’re diving into how to pick the perfect trail—no matter where you live.
🌲Step 1: Start with the Right Tools
There are so many ways to find great trails, but a few tools make it easy no matter your location or experience level.
1. AllTrails
This one’s a favorite for moms, beginners, and basically anyone who likes to know exactly what they’re getting into.
Just search your city (like “Boise, Idaho”) or let the app find your location. You’ll see options filtered by distance, difficulty, kid-friendliness, and even whether dogs are allowed.
Pro tip: read the recent reviews. They often include helpful gems like “muddy after rain,” “tons of shade,” or “mosquitoes were wild.”
2. Google Maps
Yup—plain old Google Maps.
Type “trails near me” and switch to satellite view. You’ll often see green areas (parks or public lands) and can click to see if there’s a designated trailhead. Great for spontaneous local adventures.
3. Local Resources
Your area’s park district, land trust, or state park website can be goldmines.
Here in the Treasure Valley, the Ridge to Rivers Trail System offers an incredible online map with updated trail conditions—many regions have similar sites.
For other parts of the U.S., try searching “your city + trail conditions” or “local hiking map.”
Step 2: Understand Trail Difficulty Ratings
Trail ratings aren’t universal (each platform can vary a little), but here’s a general breakdown so you know what to expect.
| Rating | What It Means | Perfect For |
|---|---|---|
| Easy | Flat or gently sloping terrain, usually under 3 miles. | Families with young kids, beginners, or quick morning hikes. |
| Moderate | Some hills, uneven ground, maybe 4–6 miles. | Weekend adventures where you still want to get home for lunch. |
| Hard | Steep climbs, longer mileage, sometimes rough terrain. | Experienced hikers or those training for longer treks. |
💡 Pro tip: Elevation gain matters more than distance. A 2-mile trail that climbs 1,000 feet can feel tougher than a 6-mile stroll on flat ground.
Step 3: Learn Trail Terminology
Trail listings can sound like a new language. Here’s what the most common terms mean:
| Term | What It Means | Example |
|---|---|---|
| Out-and-Back | You hike to a destination, then return the same way. | Hulls Gulch Trail in Boise |
| Loop | The trail forms a complete circle—no backtracking. | Perfect for variety and constant new views. |
| Lollipop | A short stem that connects to a loop—like a lollipop shape. | Great for moderate hikes with some exploration. |
| Point-to-Point | Starts and ends in different places. You’ll need two vehicles or a shuttle. | Longer trails like river paths or ridge traverses. |
Knowing these terms helps you plan realistically.
If you’ve got an “out-and-back” with steep elevation, remember that whatever you hike down, you’ll be climbing back up!
Step 4: What You Need to Bring — The Ten Essentials
Even for short hikes, it’s smart to carry the Ten Essentials—a basic safety checklist every hiker should know.
Here’s a quick version you can save, with some tried-and-true gear options I love.
| Essential | Why You Need It | Recommended Item |
|---|---|---|
| 1. Navigation | Maps or compass—tech fails, paper doesn’t. | Compass + Map App Combo (Amazon) |
| 2. Headlamp | Light if you’re caught out late. | Lightweight LED Headlamp (Amazon) |
| 3. Sun Protection | Prevent burns, even on cloudy days. | Broad Spectrum SPF + Lip Balm (Amazon) |
| 4. First Aid Kit | For scrapes, blisters, or surprises. | Compact First Aid Kit (Amazon) |
| 5. Knife/Tools | Handy for snacks, repairs, or emergencies. | Multi-Tool (Amazon) |
| 6. Fire Starter | Backup plan for warmth or signaling. | Mini Fire Starter Kit (Amazon) |
| 7. Shelter | Emergency blanket or bivy for protection. | Emergency Blanket (Amazon) |
| 8. Extra Food | You’ll hike farther than you think. | Trail Snack Pack (Amazon) |
| 9. Extra Water | Hydrate, hydrate, hydrate. | Hydration Bladder or Collapsible Bottle (Amazon) |
| 10. Extra Clothes | Layers for changing weather. | Lightweight Base Layer (Amazon) |
👉 For the full, mom-tested breakdown of these essentials (and the hilarious truth of why it sometimes feels like thirty), check out my post:
The Ten Essentials: Why It Feels Like the 30 Essentials at Times
Step 5: Plan Your First (or Next) Adventure
Once you’ve chosen a trail that fits your energy level and time frame, you’re good to go.
Remember, hiking doesn’t have to be complicated or epic. The best hikes are often the spontaneous ones — those quiet after-dinner walks up a local ridge or weekend trail days with snacks, laughter, and maybe a little mud.
Start where you are, bring what you have, and use these tools to explore confidently.
Before you know it, you’ll be the one explaining what a lollipop trail is to someone else.
Final Tip: It’s About Adventure, Not Perfection
Some days you’ll crush five miles. Other days you’ll barely make it out of the parking lot because someone forgot their shoes (it happens).
It’s all part of the adventure — and the more trails you explore, the more second-nature it becomes.
Whether you’re hiking through Boise’s Ridge to Rivers trails or exploring a small park across the country, this guide gives you the tools to pick the right path and make it your own.
